


PGP Keysigning
PGP is the defacto standard for secure communications for CSIRT teams worldwide. To deal with incidents in a secure and confidential manner, it is preferable to use encrypted messages when contacting CSIRT. PGP encryption used for confidential e-mails is mandatory when the incident report contains confidential or personal information.
An overview of PGP and other communication challenges is discussed in the TRANSITS Secure Communications module, but we also support and promote the process of keysigning via a keysigning event at each TRANSITS I training. This is also a good opportunity to get the contact information for your fellow trainees.
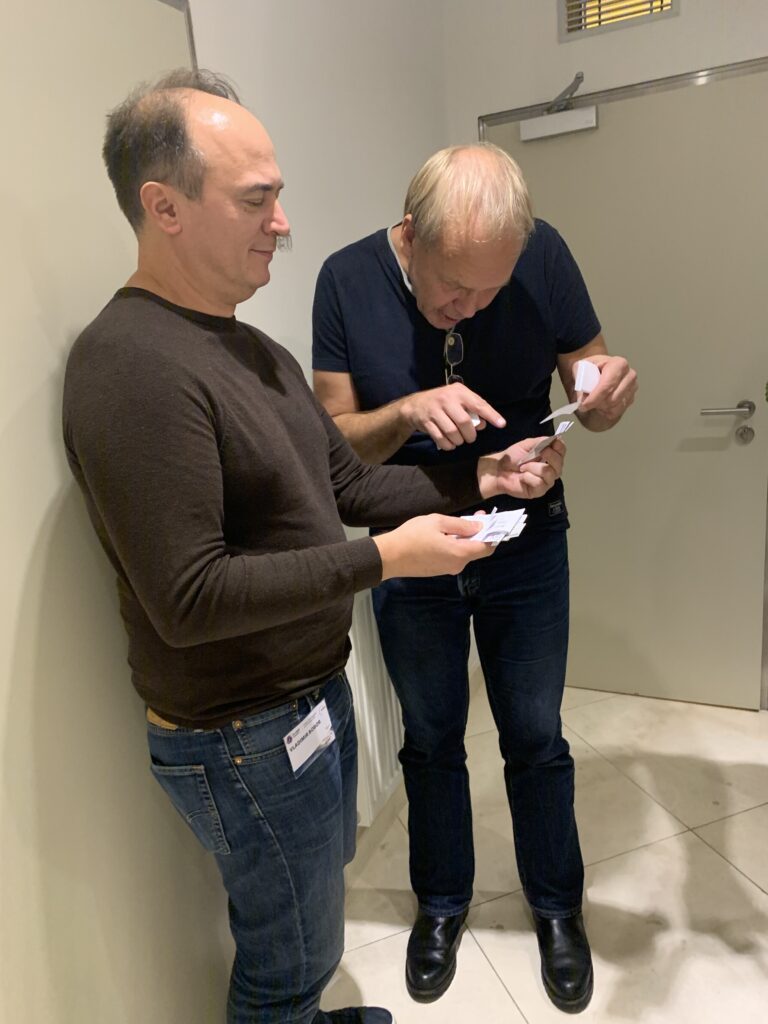
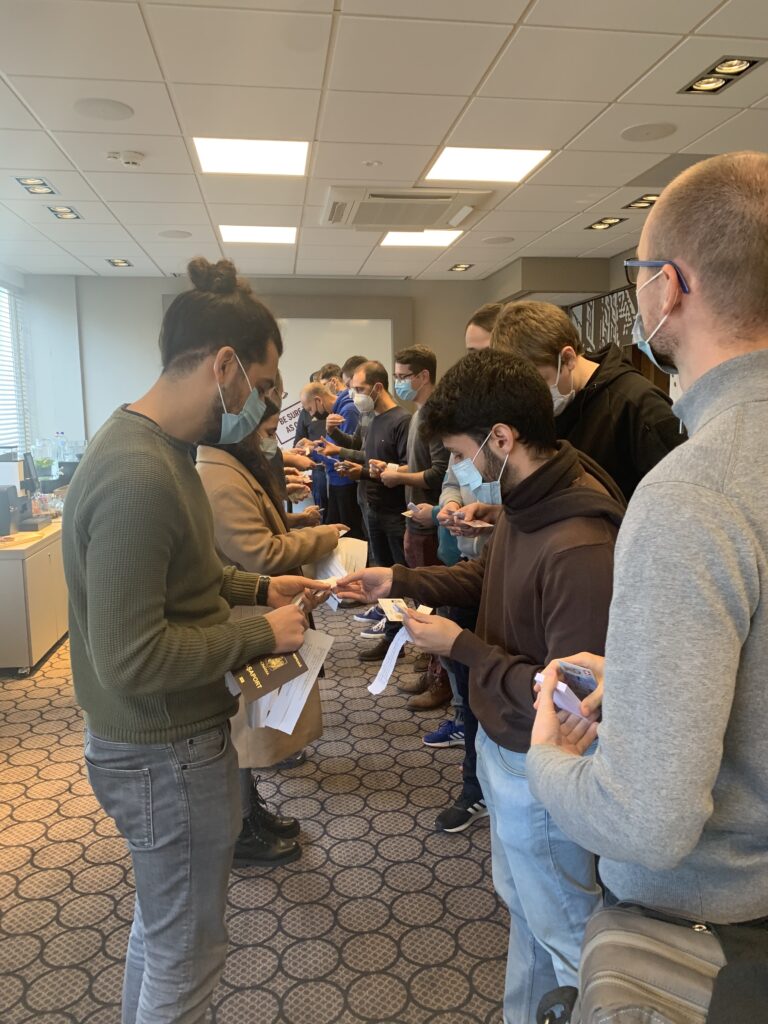
Keysigning parties are events where people digitally sign each other’s digital identities, helping to create trust that the digital identity really belongs to the real person who claims to own it.
What do I need to do?
If you already have a pgp key you only need to print your keyslips and take them with you. If you still need to make your pgp key, follow the instructions below. You will need your valid passport (or equivalent photo ID) for the pgp keysigning. You should make a pgp/gnupg keypair (unless you already have one) and bring your public key to the training – we’ll do a key signing party together!
If you DO have a pgp/gnupg keypair already, skip to (2).
1. Create a Keypair
If you don’t have a keypair yet (or if you have an RSA legacy key or a key smaller than say 1500 bits – you can ditch those, they are not safe anymore), make a new keypair in pgp or gnupg (public license, see e.g.
http://www.gnupg.org/gph/en/manual.html#AEN26 for key-generation). Your email software may also support easy key generation.
IMPORTANT: choose a keylength of 4096 if you make a new keypair! If there is a choice, opt for an RSA key. A sufficient keylength is important for security.
*** CHOOSE A SECURE PASSPHRASE FOR YOUR KEYPAIR ***
We repeat :
*** *** CHOOSE A SECURE PASSPHRASE FOR YOUR KEYPAIR *** ***
As in so many cases, this is the Achilles Heel of security! Please make sure you do not forget this passphrase!
2. Make sure your key is publicly available
Make sure that your existing or new key can be found on the *public*keyservers.
One way of doing this:
- Go to https://pgp.surfnet.nl (or similar public keyservers such as https://pgp.circl.lu) and click “Submit Key”.
- On the page that follows then, paste the ascii version of your public key (.asc extension) into the window and press “Submit Public Key”.
NOTE: only ever give your PUBLIC key to anyone, or add it to the keyservers. Your secret key, which you have secured with a safe passphrase, always remains *only* with you, and is *never* given to anyone else.
3. Make a Printout
Make a printout (e.g. using the excellent handy pgp keyslip generator. You’ll need about 30 slips in total.
Cut your printout into slips, called “keyslips” – each keyslip has your essential key data, and during the keysigning party you will give them to all trainees and tutors! If your pgp-key fingerprint and e-mail address is on your businesscard, you can also use that.
Bring the keyslips *and* your passport or valid picture-ID with you!